Featured in Scor-Pal’s July Newsletter!
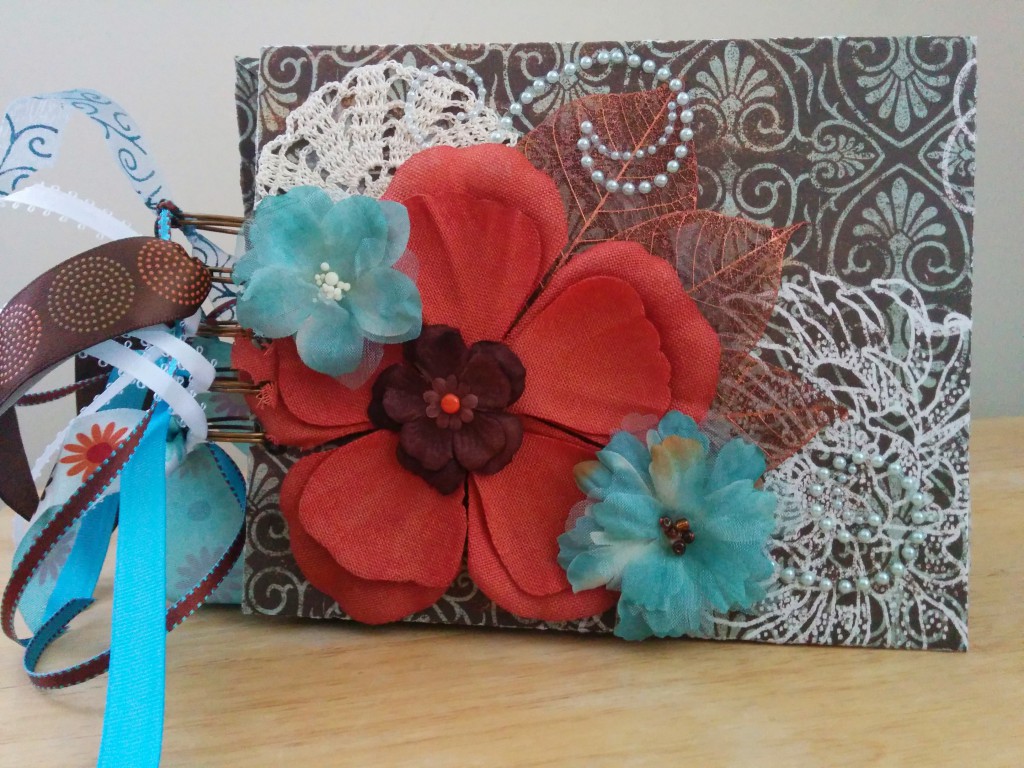
This is a fun and simple handmade photo album that has lots of pockets and folds. A while back someone gifted one like it to me because they knew I liked paper crafting and I loved it so much, I decided to make this one. It was fun examining it to figure out the measurements and how the folds and pockets came together. I also enjoyed putting my own spin on it as we often do as paper crafters.
Here are the inside pages followed by an easy tutorial.
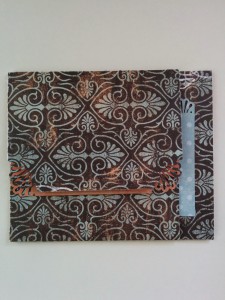
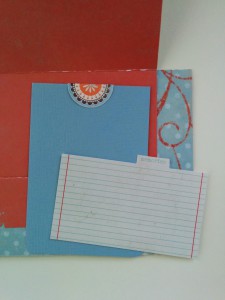
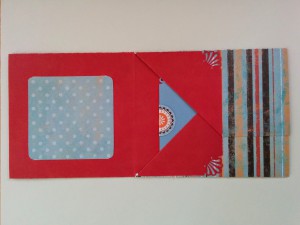
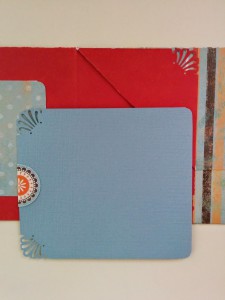
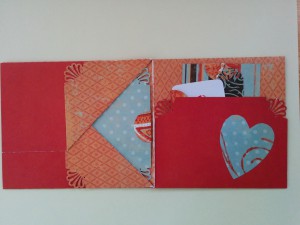
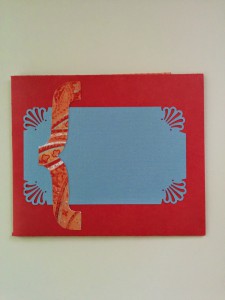
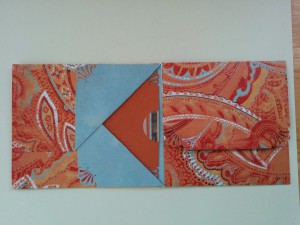
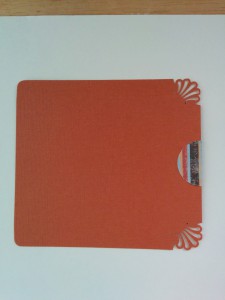
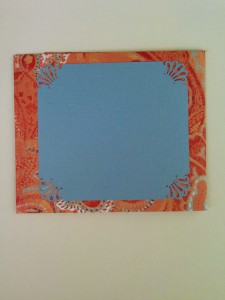
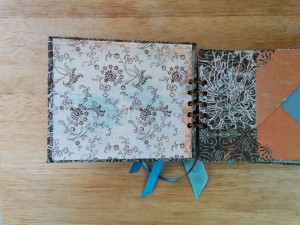
The first page: front, the 4.5 x 5 insert, and back
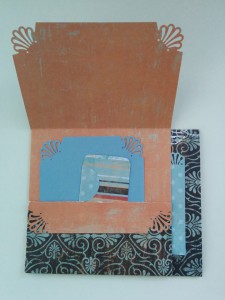
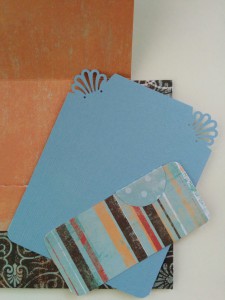
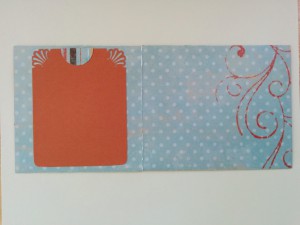
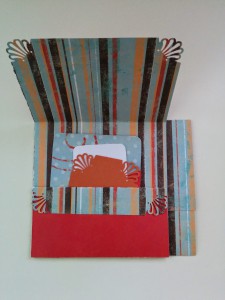
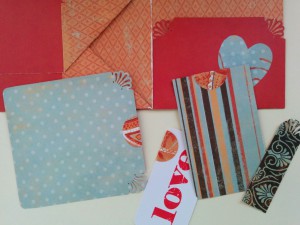
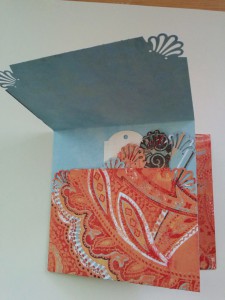
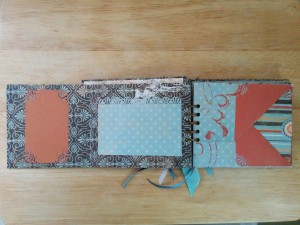
Back side of page 1: flip and pocket, insert and tag, view of the page extended with pretty photo mats.
Page 2 has the same format. I did add an additional layer to the flip on the back side.
Back side of page two has more photo mats and inserts.
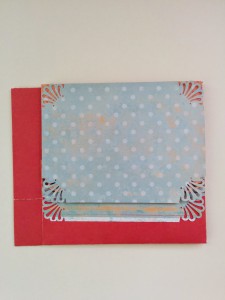
Page 3: because you can flip the pages in direction you like, this page actually starts with the “back” side, then flip and pocket page, before we see the photo mat insert and page flap.
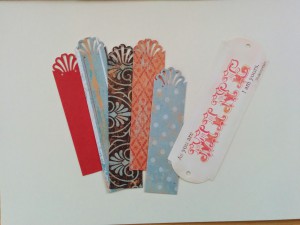
Back side page 3: more inserts and photo mats and cute little tags. Great for smaller photos or journaling spots.
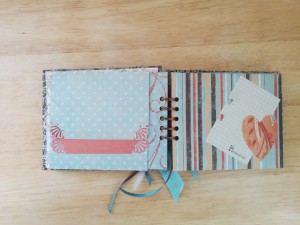
Page 4: I decided to format this one slightly different. Instead of a flap over the pocket I decided to just let it be a pocket and still included all the mats and tags, allowing the backside flap to hide a photo mat, which you see below.
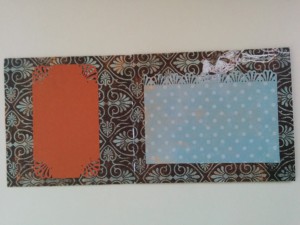
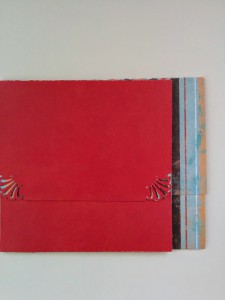
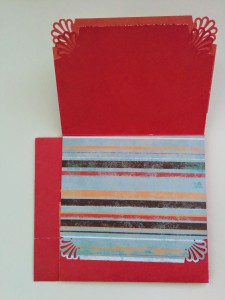
Back of page 4: fold, flip hiding photo mat, another photo mat with accent.
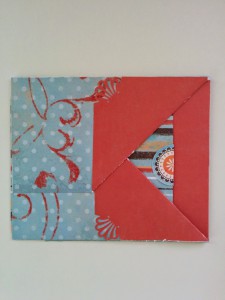
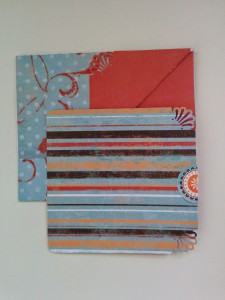
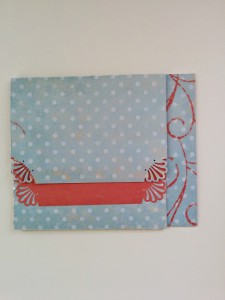
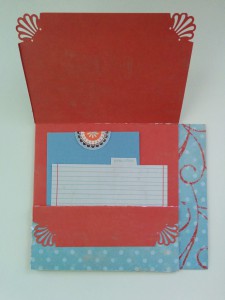
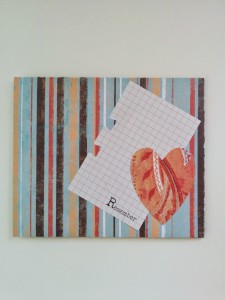
Page 5 (final page): front, flip with pocket, and insert and back side of flip
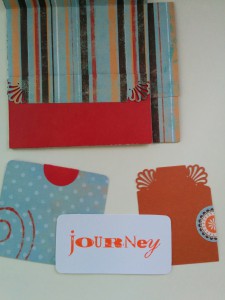
Back of page 5: large photo mat, pocket with inserts and a view of the inserts/tags.
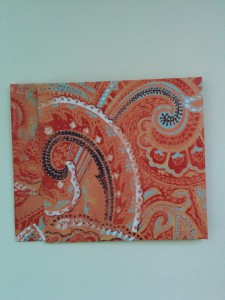
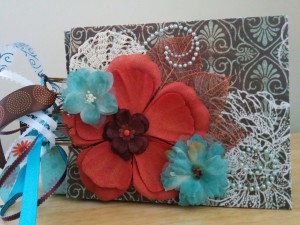
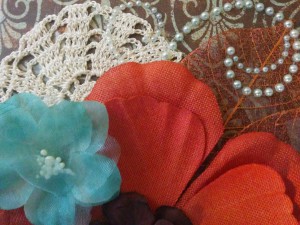
Here are a few more pictures of the book once I bound it with my Cinch which is my favorite binding tool.
[ctt template=”6″ link=”0Miq0″ via=”no” ]Click to share with friends and family![/ctt]
Tutorial
As you can see from the photos of the album I made, the pages are a variation from one main design that you can customize to fit your style.
You will need:
- Paper – You will need to select four to five 12×12 sheets of patterned scrapbook paper that are preferably double-sided and a little bit thicker than regular paper but not heavy like card stock. I chose patterned paper that is coordinated but it is really just preference. Also, if you don’t want to use double-sided, I will show you later on where it affects your design.
- Cutter
- Scoring blade
- Tape runner
- Bone folder (optional)
Okay, let’s get right to it!
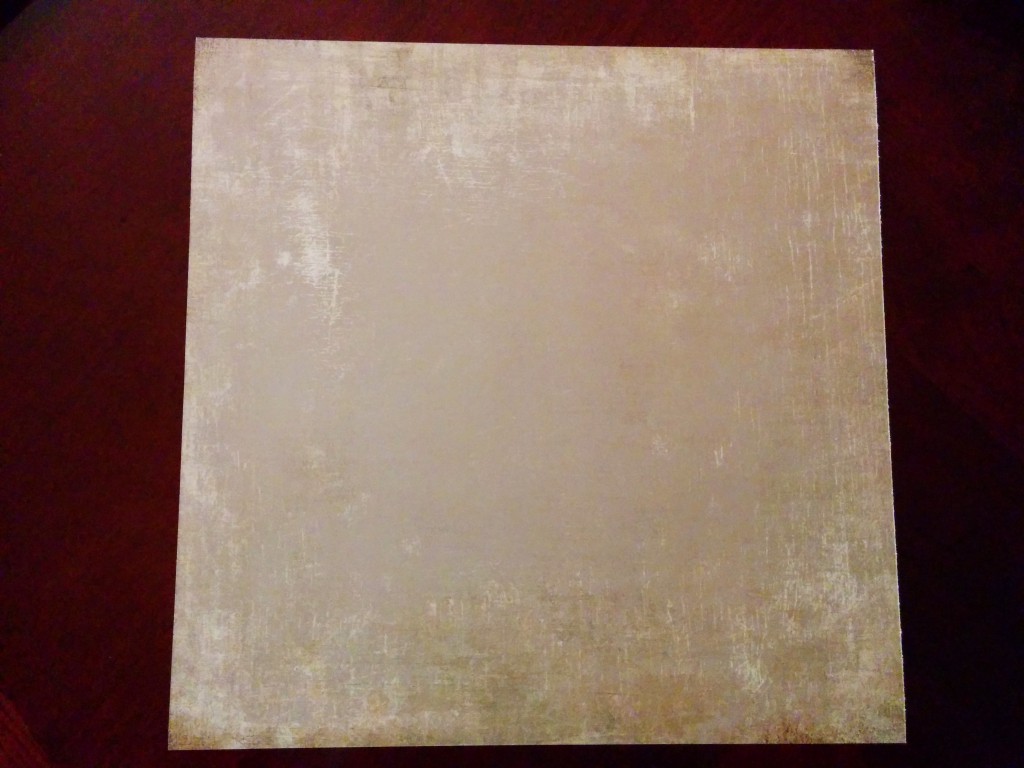
Start with your 12 x 12 sheet and keep in mind that the side facing you is the side that will be in the inside of the folds and pockets.
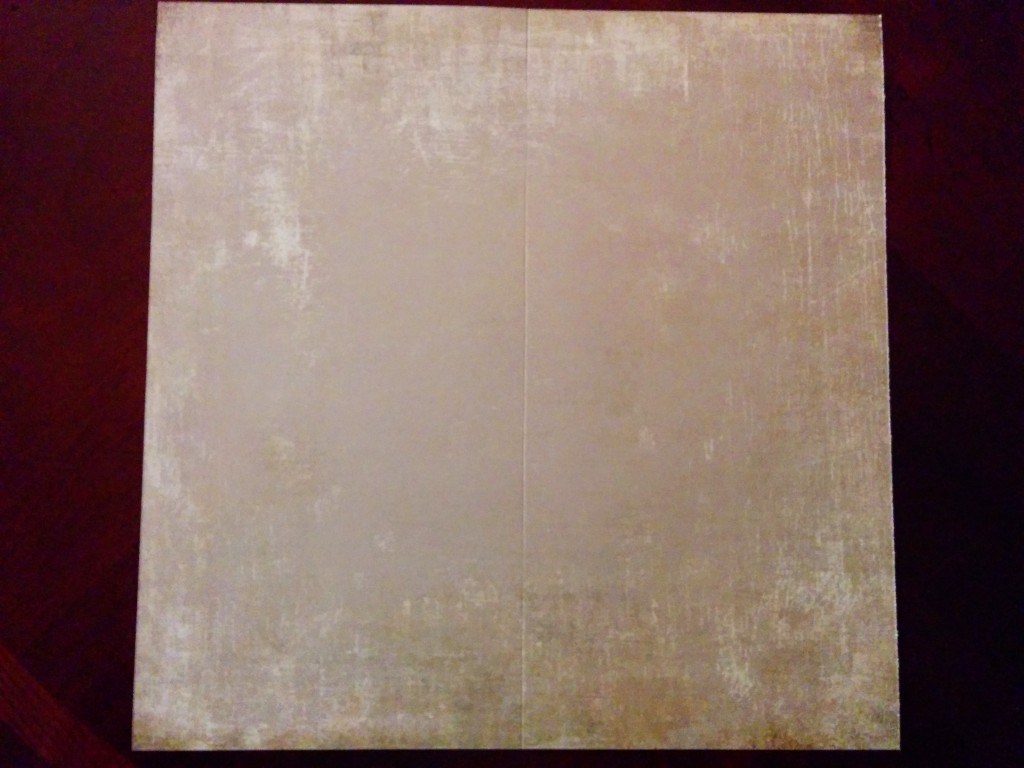
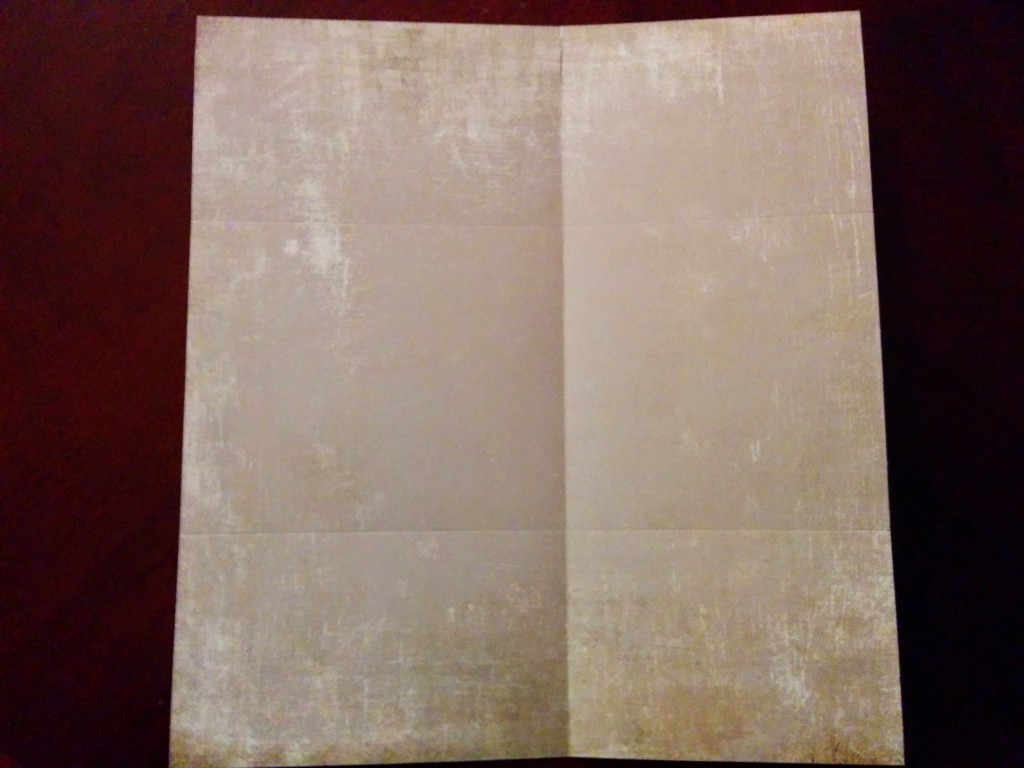
Score the paper at 6 inches or fold in half, whichever is easier for you.
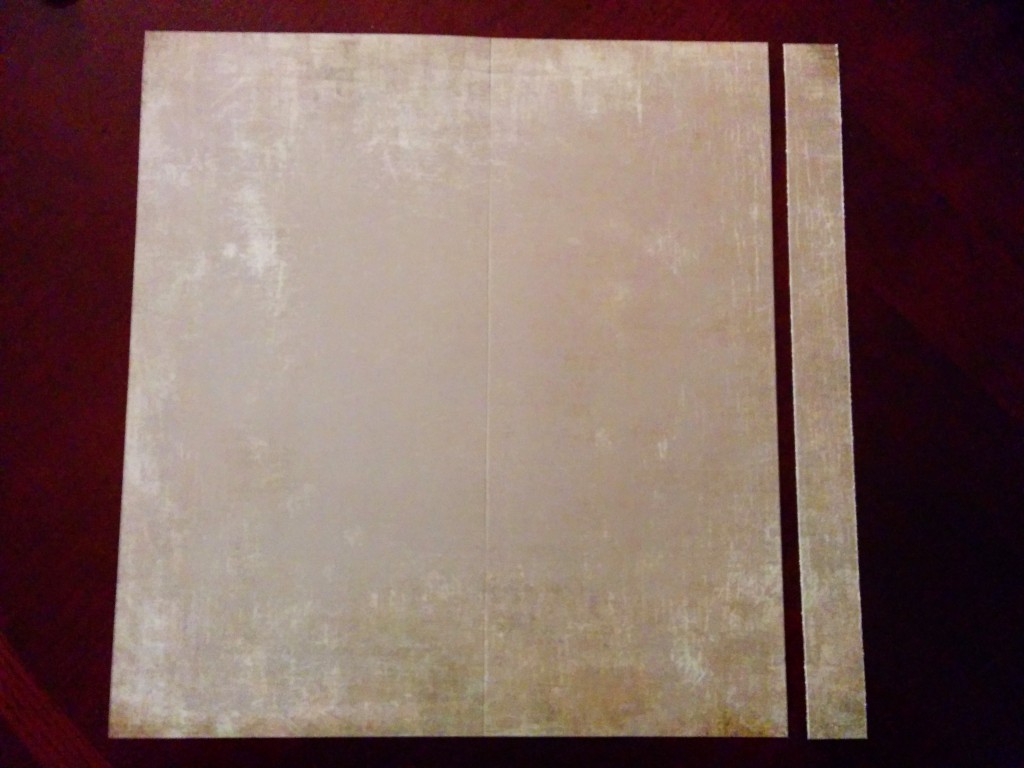
Cut 1 inch off of the right side. (with score line vertical)
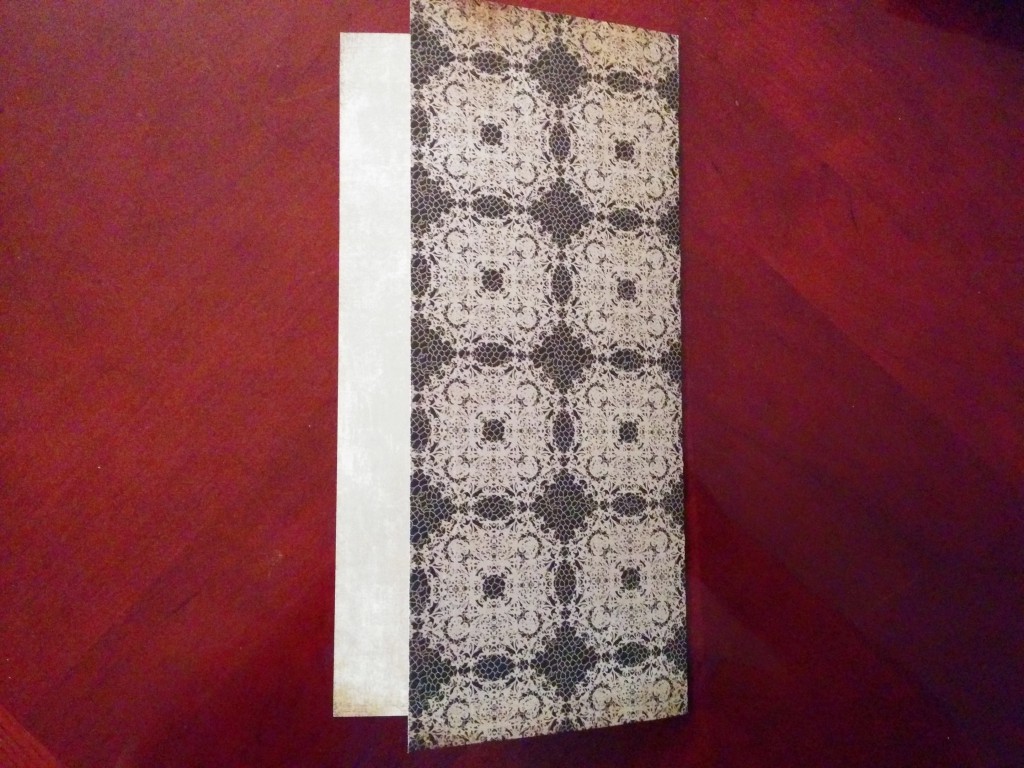
This is what your folded paper should look like. You can use the bone folder to make your crease sharper. (optional)
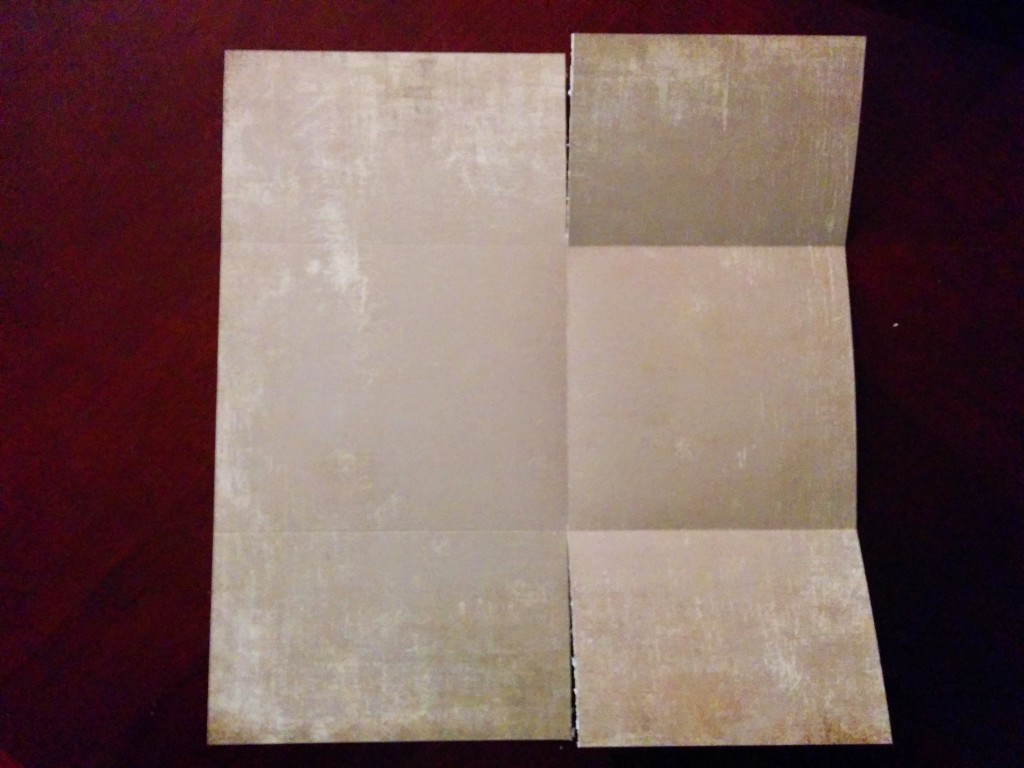
Score horizontally 3.5 inches from the top and bottom as shown.
Cut 3.5 inches from the top and bottom as shown.
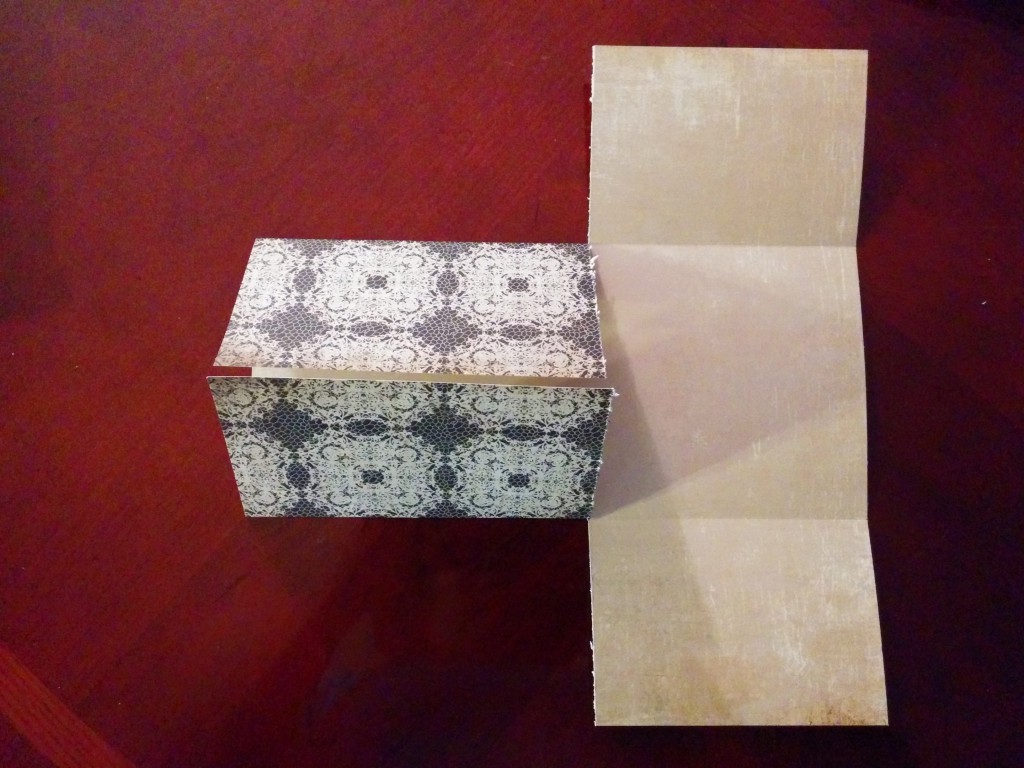
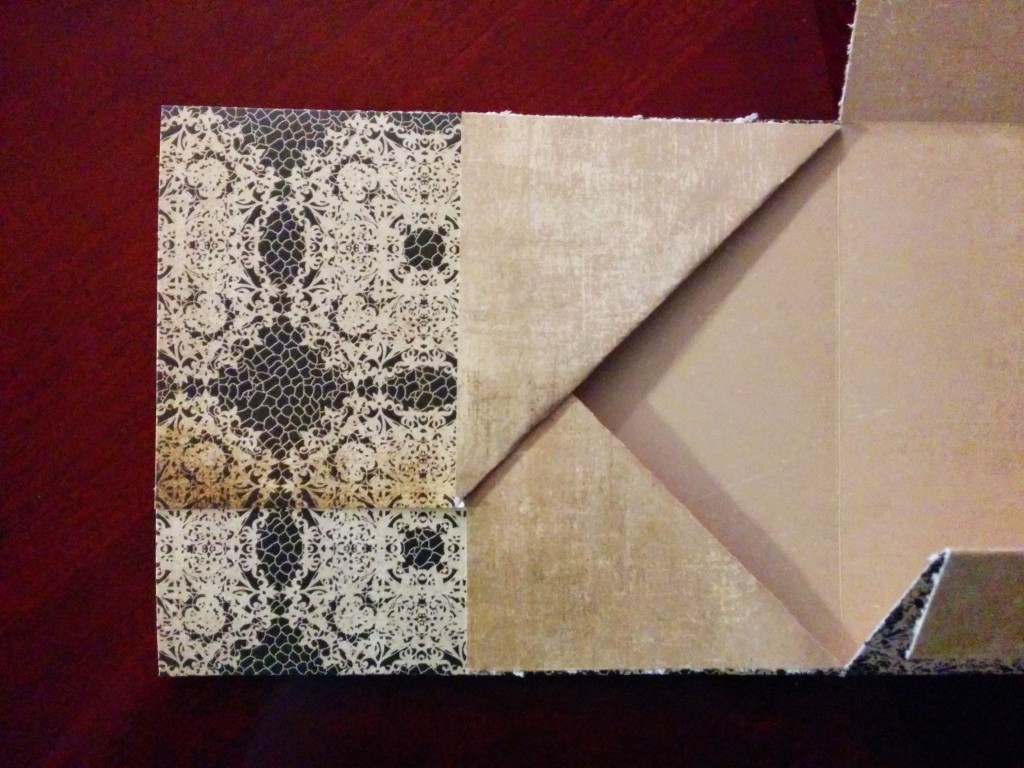
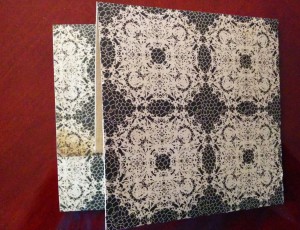
This is what you should have so far. Don’t glue down your fold until you decide how you want your pocket to look.
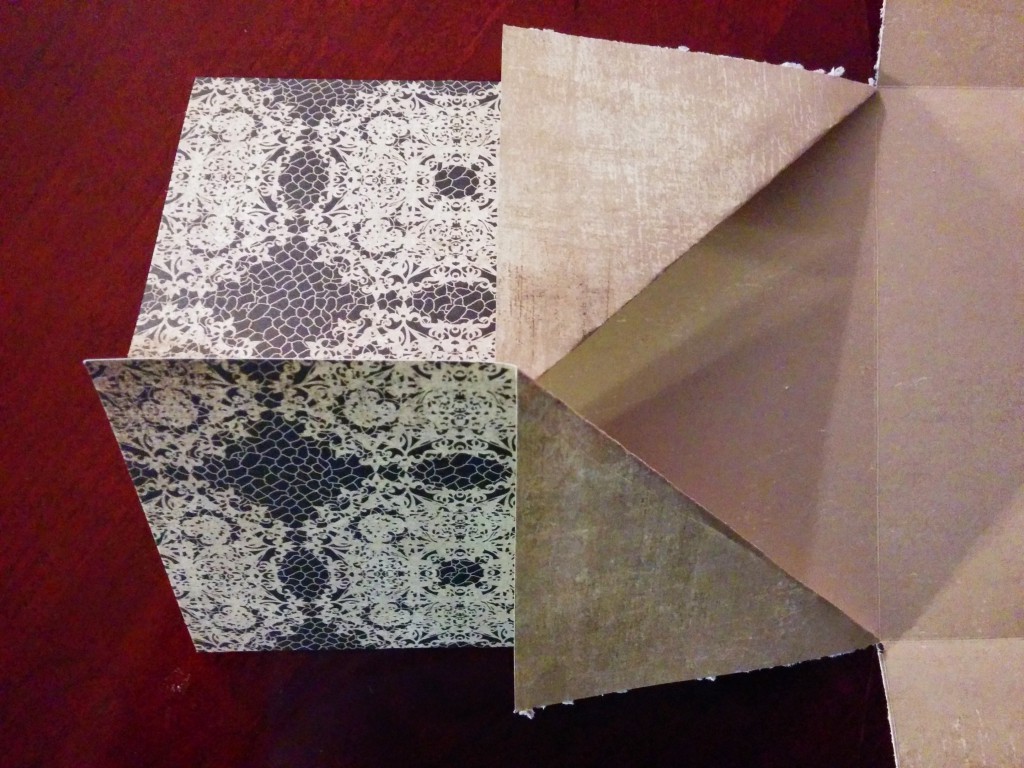
Once you fold the edges of what will be the main pocket, decide whether you want to do anything fancy to the corners before you glue them down or leave them as is. I used a decorative corner punch but it really just depends on the theme of the album.
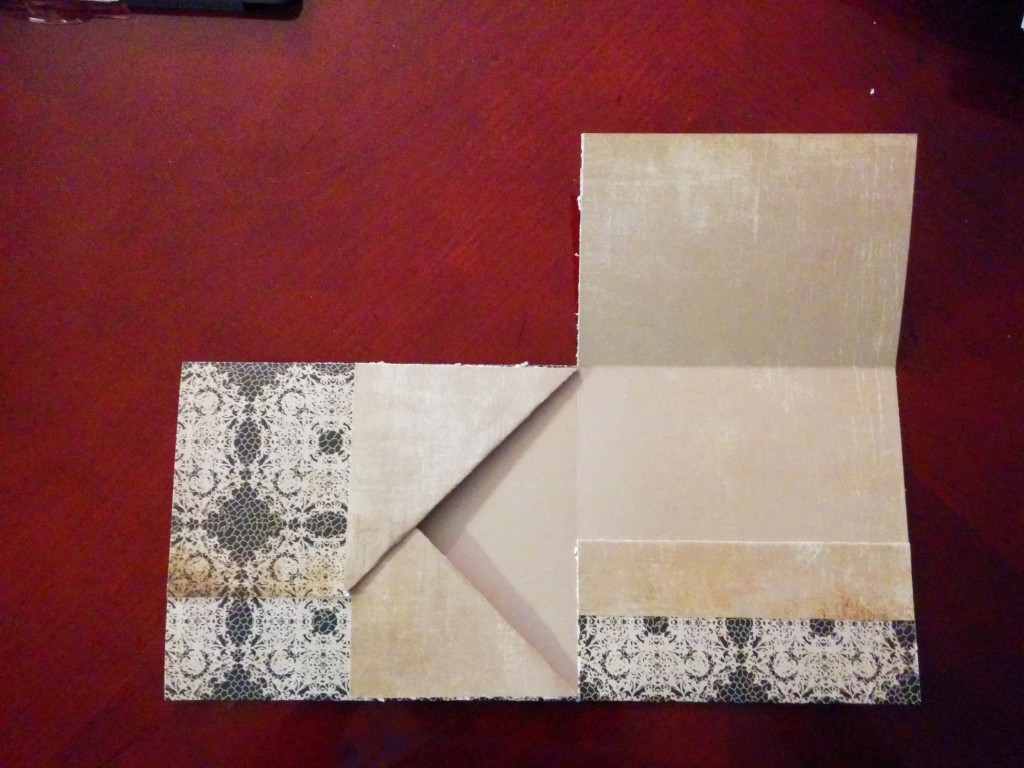
Glue your edges down. First the horizontal line and then the flaps. Note that you can leave the page end open until you decide how you want to bind the pages later. The photo mats that you are going to make are large enough that when you bind the album, it won’t slide out.
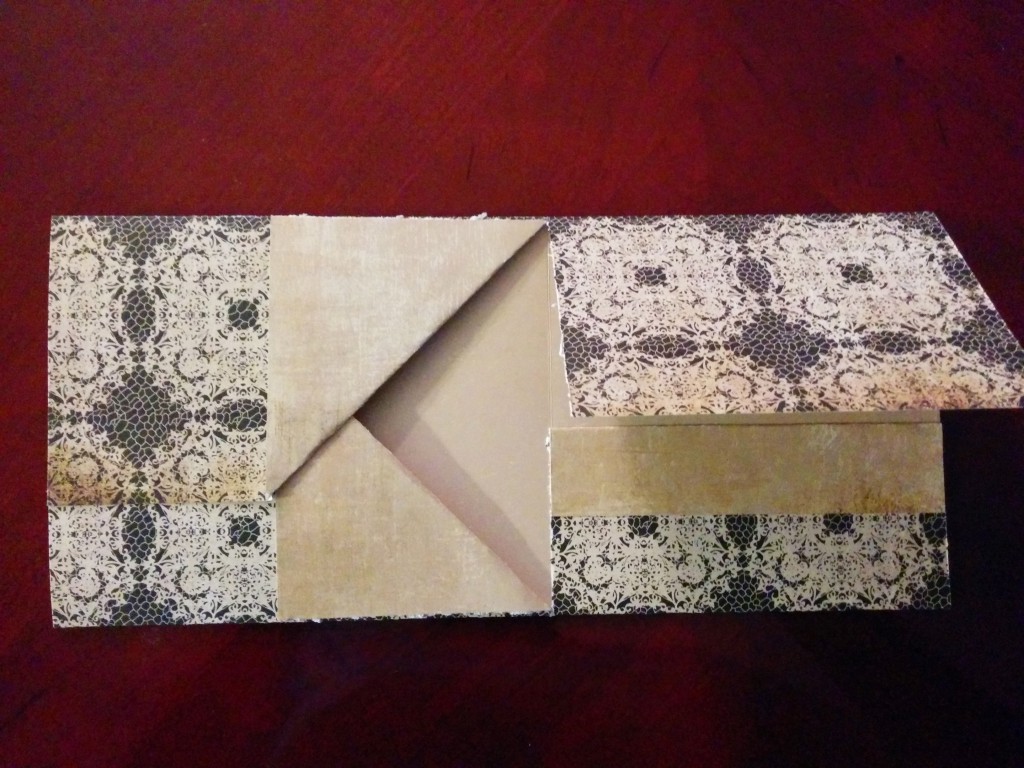
On the right side of your page, you can fold your lower flap down and glue or leave it up for a different look. Then glue the edges to make your pocket. Again, you can customize the upper flap or leave as is.
This is your basic page that you end up with and it is ready for your own personal touch.
The photo mats that I made for the main pocket measure 4.5 x 5 but you can certainly play around with all sorts of sizes and ideas. I would love to see what you come up with and hear about your ideas.
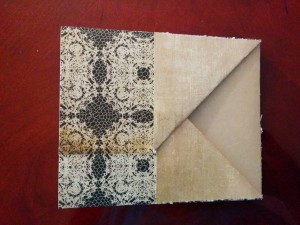
Here are the other views when folded. Have fun customizing, adding photos mats, pictures, tags, embellishments. Let me know what you think in the comments below! Upload your version of the album to Instagram using hashtag #lacynicoleorg so I can see your creations!
[ctt template=”6″ link=”M37uo” via=”no” ]If you enjoyed this tutorial, please share![/ctt]
Hey Lacy,
These designs look great, and I think I may try to make one of these with the guide. My girlfriend likes stuff like this and I think we could use a new photo album.
Do these generally last for a very long time in damp places? we currently live in a basement and the only worry I have is that the humidity here would affect the album.
Thanks for the information, I’ll be back 🙂
Hi Scott, thank you. In general, even with the acid free paper and embellishments, you really want to avoid any damp, dark areas like a basement or hot areas like an attic. Cool, dry environments work the best. You want plenty of air circulating to avoid mildew on your album. However, there are some steps you can take to safeguard your album and any scrapbook supplies you have. You can store the album in a plastic container when you are not working on it. Some great brands include Iris, Rubbermaid and Sterlite. I’d make sure it is in a container that is raised off of the floor. Also, you can always get a portable dehumidifier so that the air is more dry. Great question. Let me know if I’ve helped. I would love to see the album when you are finished.
There is quite a lot of work, I would say….
Not many people are good with having the pleasure and patience to do it.
Nice job!
laura
Thanks so much Laura. It is actually something that relaxes me so I have a lot of patience for it!
Great tutorial and your work is stunning!! Really inspiring, thanks for sharing it. My mom is going to love this…lol.
Thanks Rohan. I hope your mom enjoys the post and will check back on the site for upcoming posts.